加载中…
创作者 · Aceternity UI
查看原始来源 ↗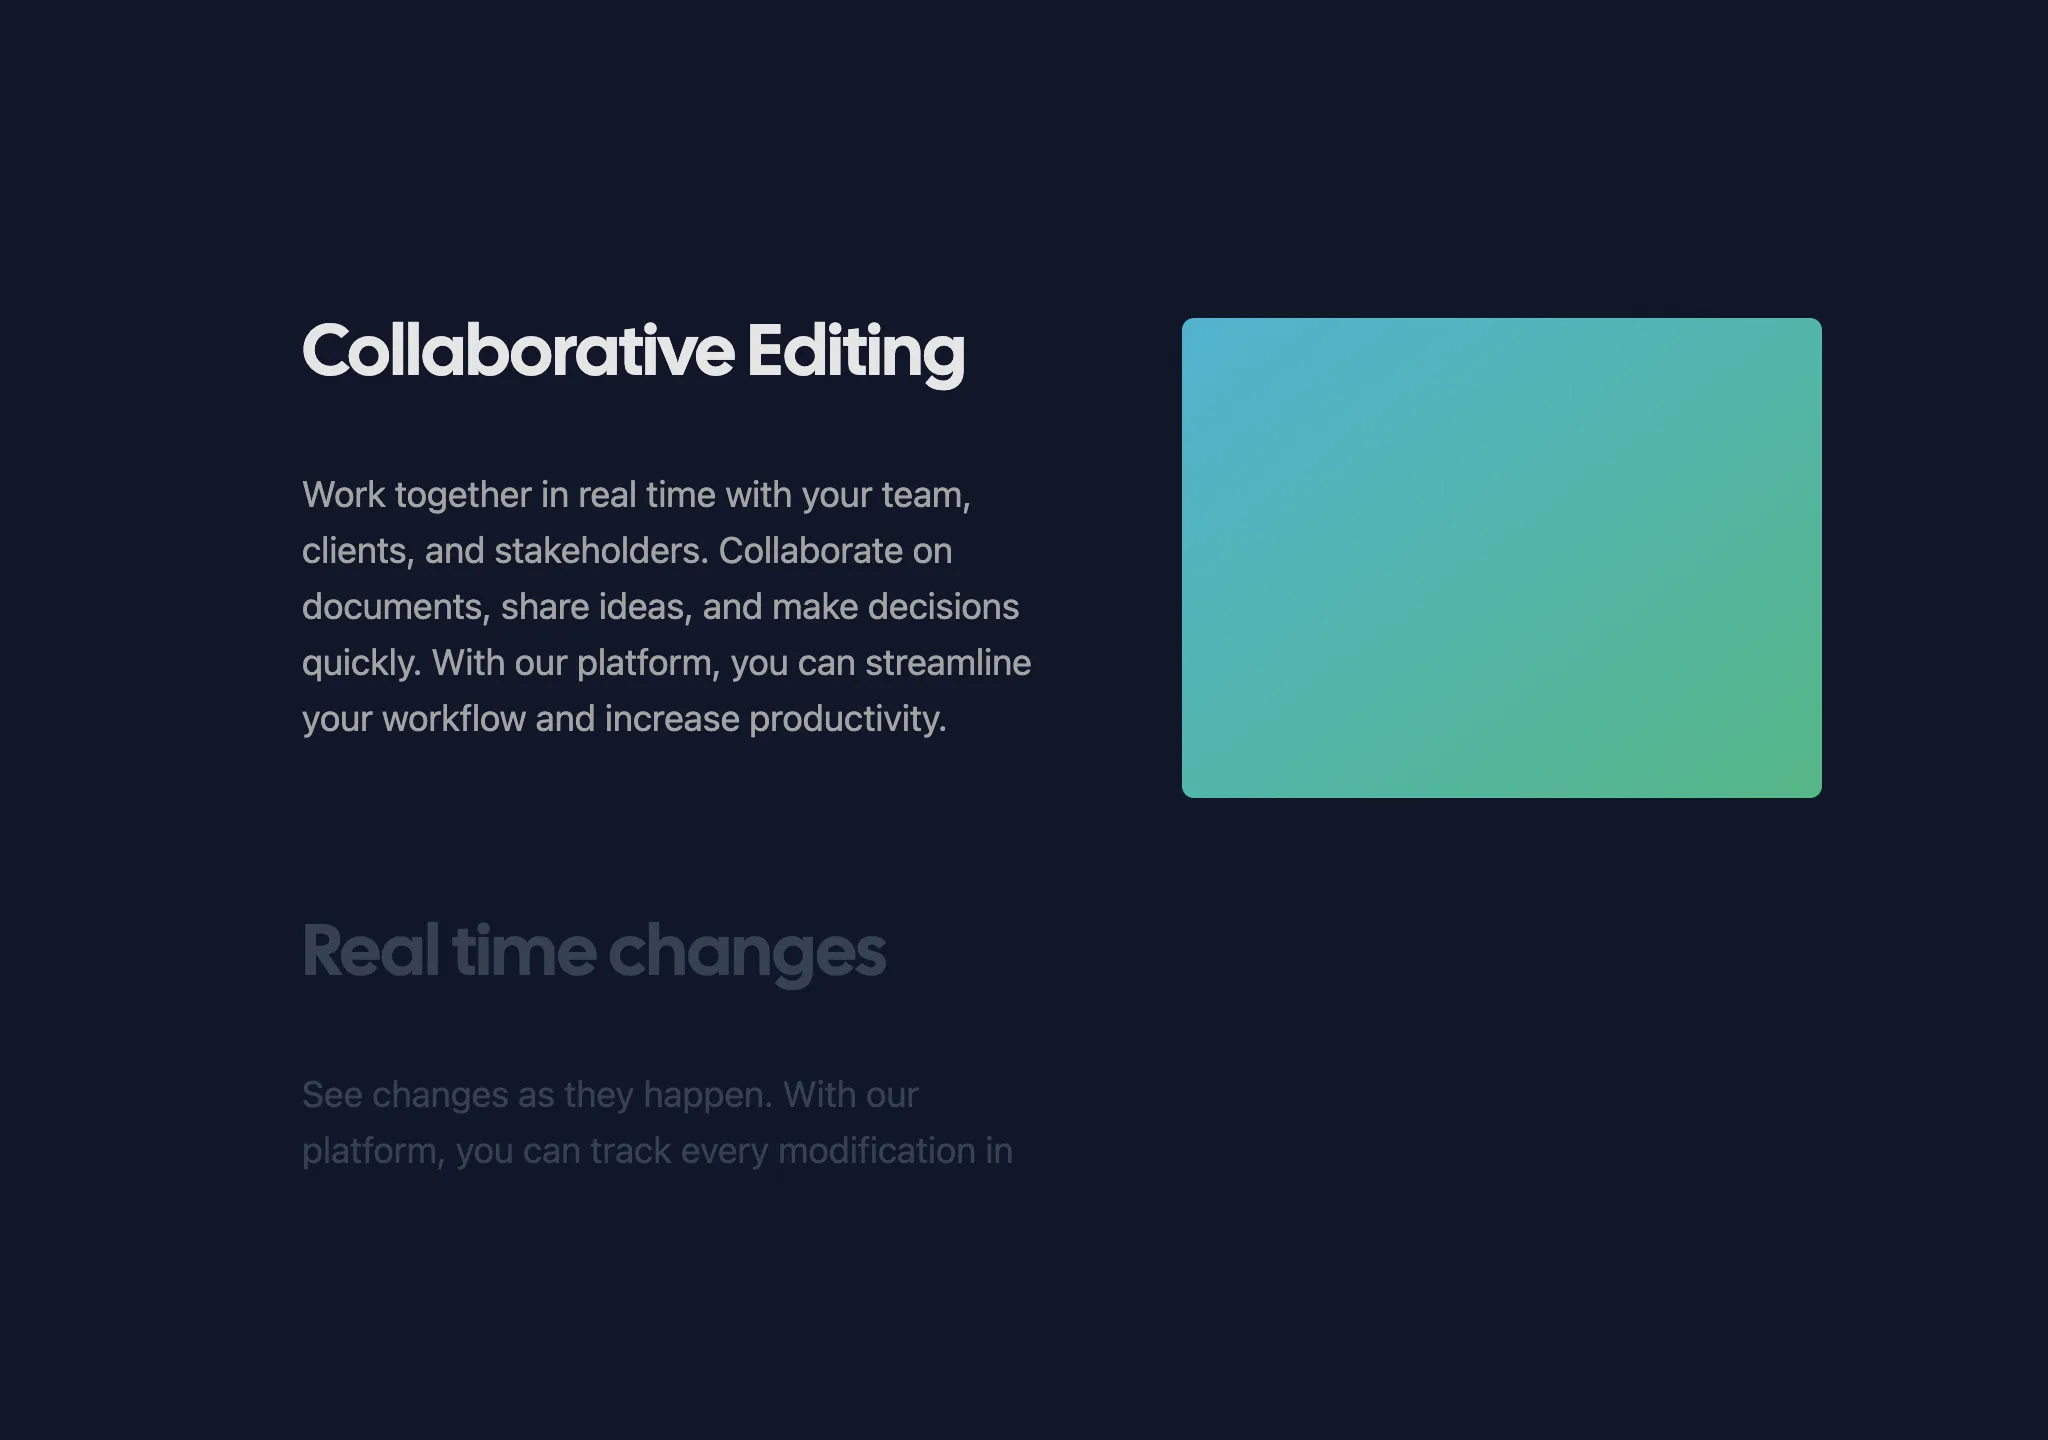
Prompt
// components/ui/sticky-scroll-reveal.tsx
"use client";
import React, { useEffect, useRef, useState } from "react";
import { useMotionValueEvent, useScroll } from "motion/react";
import { motion } from "motion/react";
import { cn } from "@/lib/utils";

export const StickyScroll = ({
  content,
  contentClassName,
}: {
  content: {
    title: string;
    description: string;
    content?: React.ReactNode | any;
  }[];
  contentClassName?: string;
}) => {
  const [activeCard, setActiveCard] = React.useState(0);
  const ref = useRef<any>(null);
  const { scrollYProgress } = useScroll({
    // uncomment line 22 and comment line 23 if you DONT want the overflow container and want to have it change on the entire page scroll
    // target: ref
    container: ref,
    offset: ["start start", "end start"],
  });
  const cardLength = content.length;

  useMotionValueEvent(scrollYProgress, "change", (latest) => {
    const cardsBreakpoints = content.map((_, index) => index / cardLength);
    const closestBreakpointIndex = cardsBreakpoints.reduce(
      (acc, breakpoint, index) => {
        const distance = Math.abs(latest - breakpoint);
        if (distance < Math.abs(latest - cardsBreakpoints[acc])) {
          return index;
        }
        return acc;
      },
      0,
    );
    setActiveCard(closestBreakpointIndex);
  });

  const backgroundColors = [
    "#0f172a", // slate-900
    "#000000", // black
    "#171717", // neutral-900
  ];
  const linearGradients = [
    "linear-gradient(to bottom right, #06b6d4, #10b981)", // cyan-500 to emerald-500
    "linear-gradient(to bottom right, #ec4899, #6366f1)", // pink-500 to indigo-500
    "linear-gradient(to bottom right, #f97316, #eab308)", // orange-500 to yellow-500
  ];

  const [backgroundGradient, setBackgroundGradient] = useState(
    linearGradients[0],
  );

  useEffect(() => {
    setBackgroundGradient(linearGradients[activeCard % linearGradients.length]);
  }, [activeCard]);

  return (
    <motion.div
      animate={{
        backgroundColor: backgroundColors[activeCard % backgroundColors.length],
      }}
      className="relative flex h-[30rem] justify-center space-x-10 overflow-y-auto rounded-md p-10"
      ref={ref}
    >
      <div className="div relative flex items-start px-4">
        <div className="max-w-2xl">
          {content.map((item, index) => (
            <div key={item.title + index} className="my-20">
              <motion.h2
                initial={{
                  opacity: 0,
                }}
                animate={{
                  opacity: activeCard === index ? 1 : 0.3,
                }}
                className="text-2xl font-bold text-slate-100"
              >
                {item.title}
              </motion.h2>
              <motion.p
                initial={{
                  opacity: 0,
                }}
                animate={{
                  opacity: activeCard === index ? 1 : 0.3,
                }}
                className="text-kg mt-10 max-w-sm text-slate-300"
              >
                {item.description}
              </motion.p>
            </div>
          ))}
          <div className="h-40" />
        </div>
      </div>
      <div
        style={{ background: backgroundGradient }}
        className={cn(
          "sticky top-10 hidden h-60 w-80 overflow-hidden rounded-md bg-white lg:block",
          contentClassName,
        )}
      >
        {content[activeCard].content ?? null}
      </div>
    </motion.div>
  );
};适用模型与稳定度
建议模型
继续探索

@Oluwaphilemon1 使用 Claude Fable 5 · Three.js · Blender · GSAP完成的网页案例,包含公开结果、完整 Prompt 与原始来源。
提示语
Claude Fable 5 和 GPT-5.6 很强🥵🥵🥵 下面是我如何使用 Claude 构建的 👇 提示词:「设计一个机构网站,把服务以 3D 超市商品包装的形式呈现」 使用 Three.js 和 WebGL 在浏览器中实时渲染所有产品 使用 Blender 制作包装模型,然后导出为 GLTF 以加载到 Three.js 中 使用 GSAP 实现流畅的产品旋转和悬停交互 如果你想做一个让客户感觉像是在购买高级商品的作品集,请保存这条 🛒
复制这段 TSX 组件源码,交给 Cursor、v0、Claude 等 AI 编程工具,说明这是「3D Animated Pin」的 Aceternity UI 组件实现,即可让它接入你的 React 项目,再按需替换文案、配色与触发参数复用。
提示语
// components/ui/3d-pin.tsx "use client"; import React, { useState } from "react"; import { motion } from "motion/react"; import { cn } from "@/lib/utils"; export const PinContainer = ({ children, title, href, className, containerClassName…
提示语
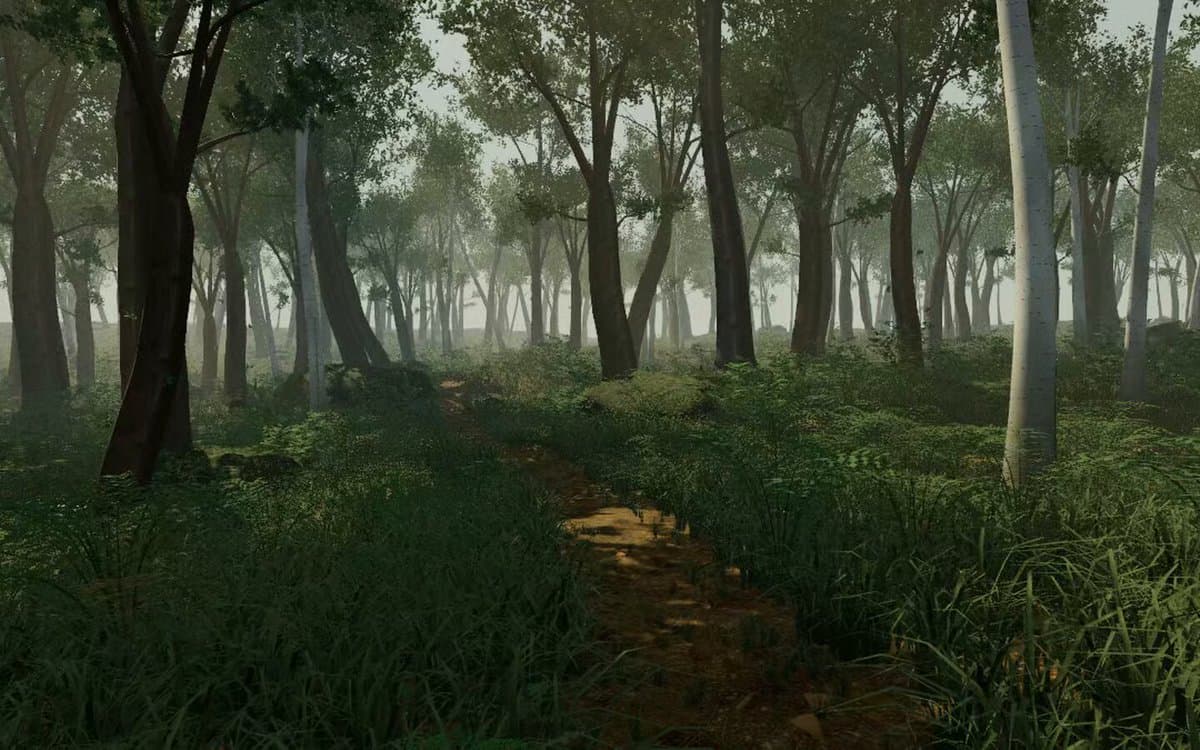
首先搜索 "/unlazy" skill,完整阅读它,并在整个任务中持续使用。 将此视为一项至少持续 {argument name="minimum duration" default="5 小时"} 的大型视觉构建。如果环境允许,最好进行 {argument name="optimal duration" default="8–24 小时"} 有实质意义的实现和迭代。不要在制作出一个还不错的场景后就停下。 在浏览器中创建一个细节极其丰富的实时 {argument nam